
Replacing the front steps on this home was one of many projects. And along with new paint, new roof, and landscaping (not to mention the interior remodeling), it revitalized an older but well built home that was in dire need of some TLC.
Front Steps Renewed
 By Michael A Lowe
September 4, 2019
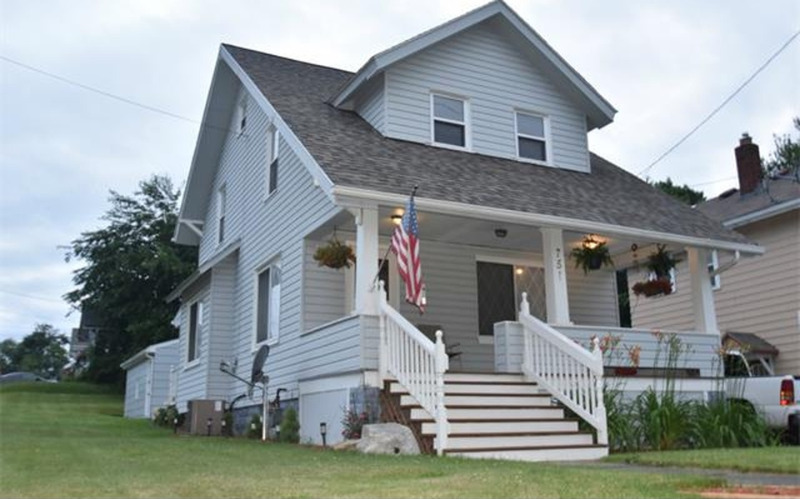
This 1928 cape cod was our 2nd home while "on adventure" in Ohio.
The previous owner had it rented out, but still decided to let it go into foreclosure. From here we picked it up for $21K cash and went to work renovating it while I worked 10 minutes away as a software engineer.
There were several issues with the property, most of which we were aware of, such as missing plumbing (conveniently capped off by the former owner's plumber friend who kindly introduced himself and his services when we moved in), a hole in the wall in the kitchen, no toilets, sinks, or cabinetry, all of which we fixed.
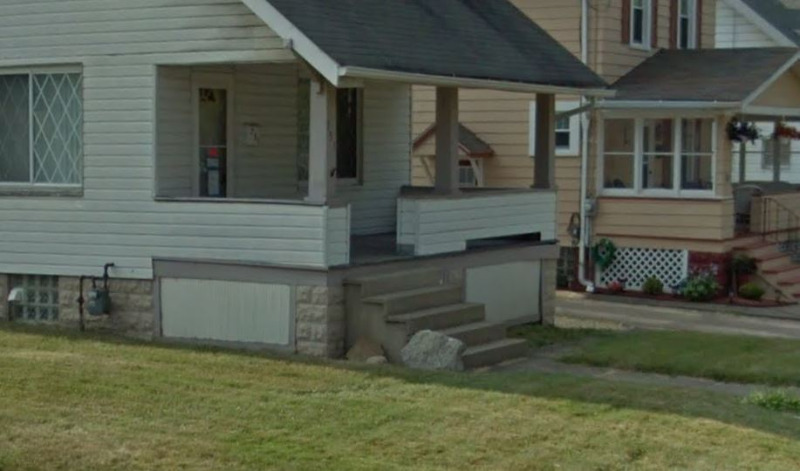
On the outside, the main issues were: an older roof, a desperate need for fresh paint, and a dilapidated set of concrete steps at the front of the house.
This is a picture of the home when we purchased it.
Before jumping in head-first and tearing down the ugly concrete steps, I had to be prepared, beginning with my plan of attack.
The first step (no pun intended) was to design the steps, most importantly the stringer, which exist on the sides and center, providing the rise, run, and total rise of the steps.
Next, I purchased the needed materials including: 2x12's, 4x4's, 2x6's, the tread boards, bags of concrete for the post footings, associated hardware, etc.
From here I marked and measured the 2x12's and carefully cut the stringers as well as the other structural pieces I would need to get started.
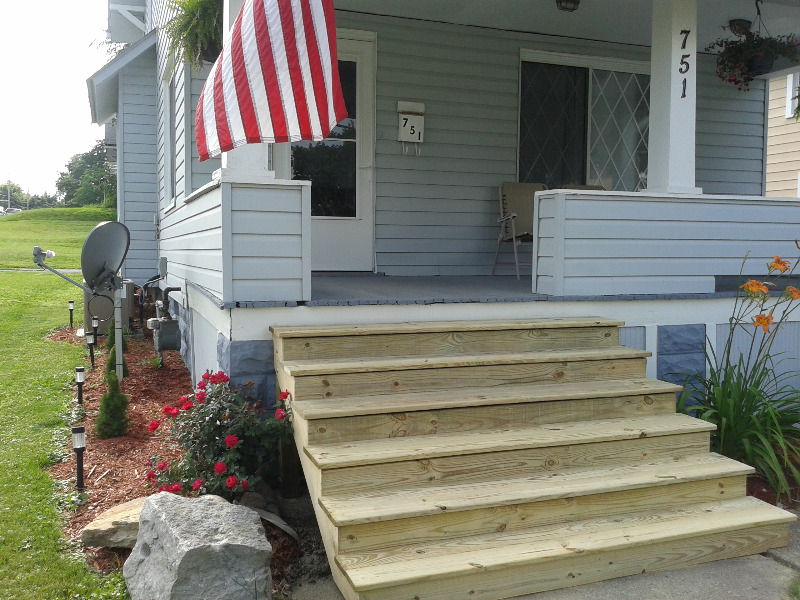
I chose a nice hot Saturday in July to take a sledge hammer to the ugly concrete steps, which gave way disturbingly without too much effort.
This picture shows the set of steps this same weekend.
Putting on the hand-rails was the next part, including ensuring that each post and vertical baluster was at the correct angle (90 degrees from horizontal), as well as spaced evenly.
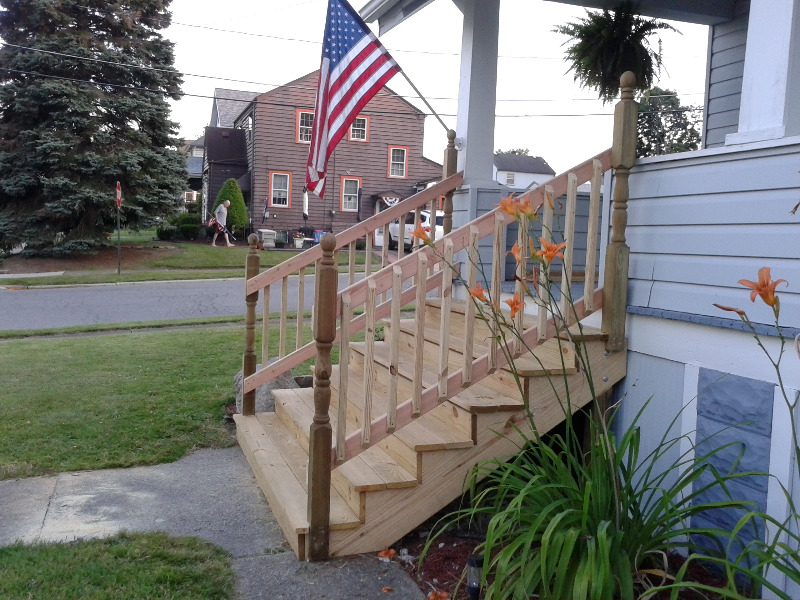
From here, I applied a top piece to each handrail made from 2x4's and cut to fit and look nice, then started applying the paint.
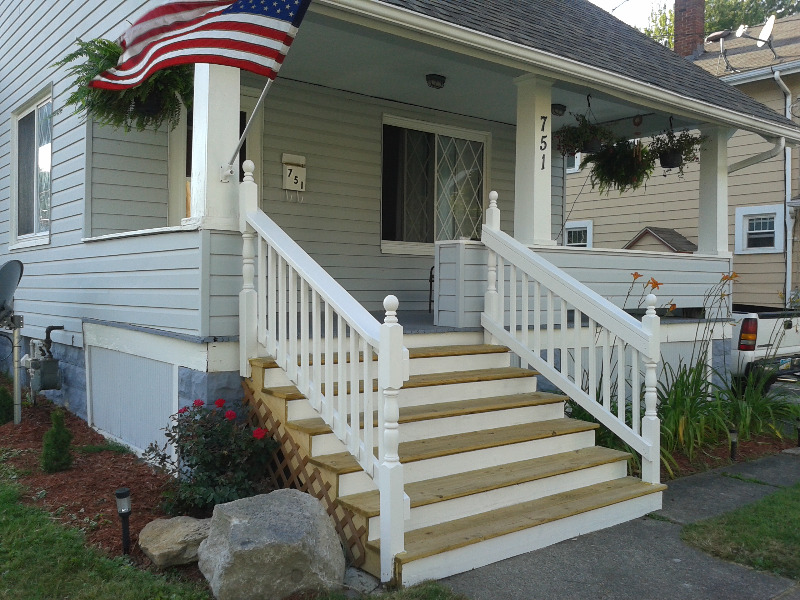
Finishing the steps included painting each stair tread with anti-slip deck paint and installing vinyl lattice to cover the openings on each side.
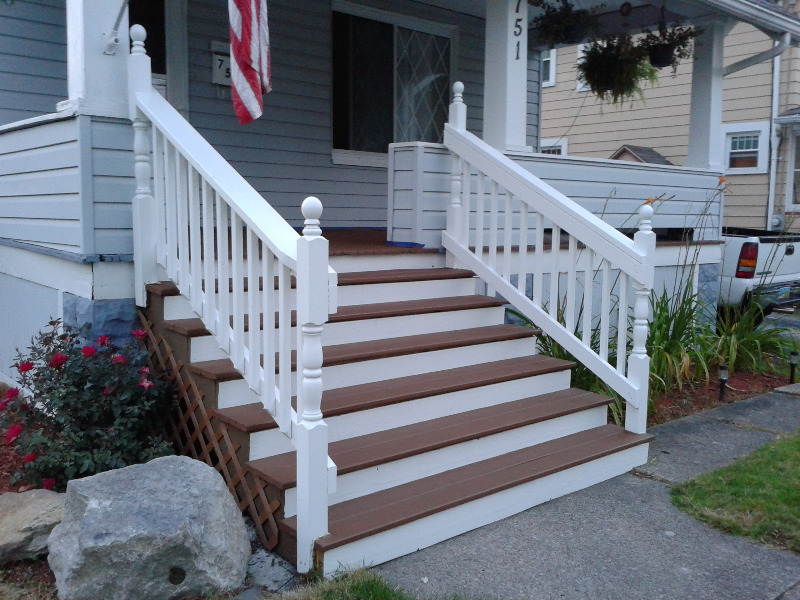
And here is the overall view.
Renewing the steps definitely increased the curb-appeal of the home and was a lot of fun to complete.
Comments
Sign-in to leave a comment.
-
Michael A Lowe commented on September 7, 2019, 10:14:01 PM
I've included this blog as an example of what can be easily created with the SigmaYou.com Blog Builder module.
Michael A Lowe replied on December 25, 2024, 8:12:11 PM
Yesss!!!